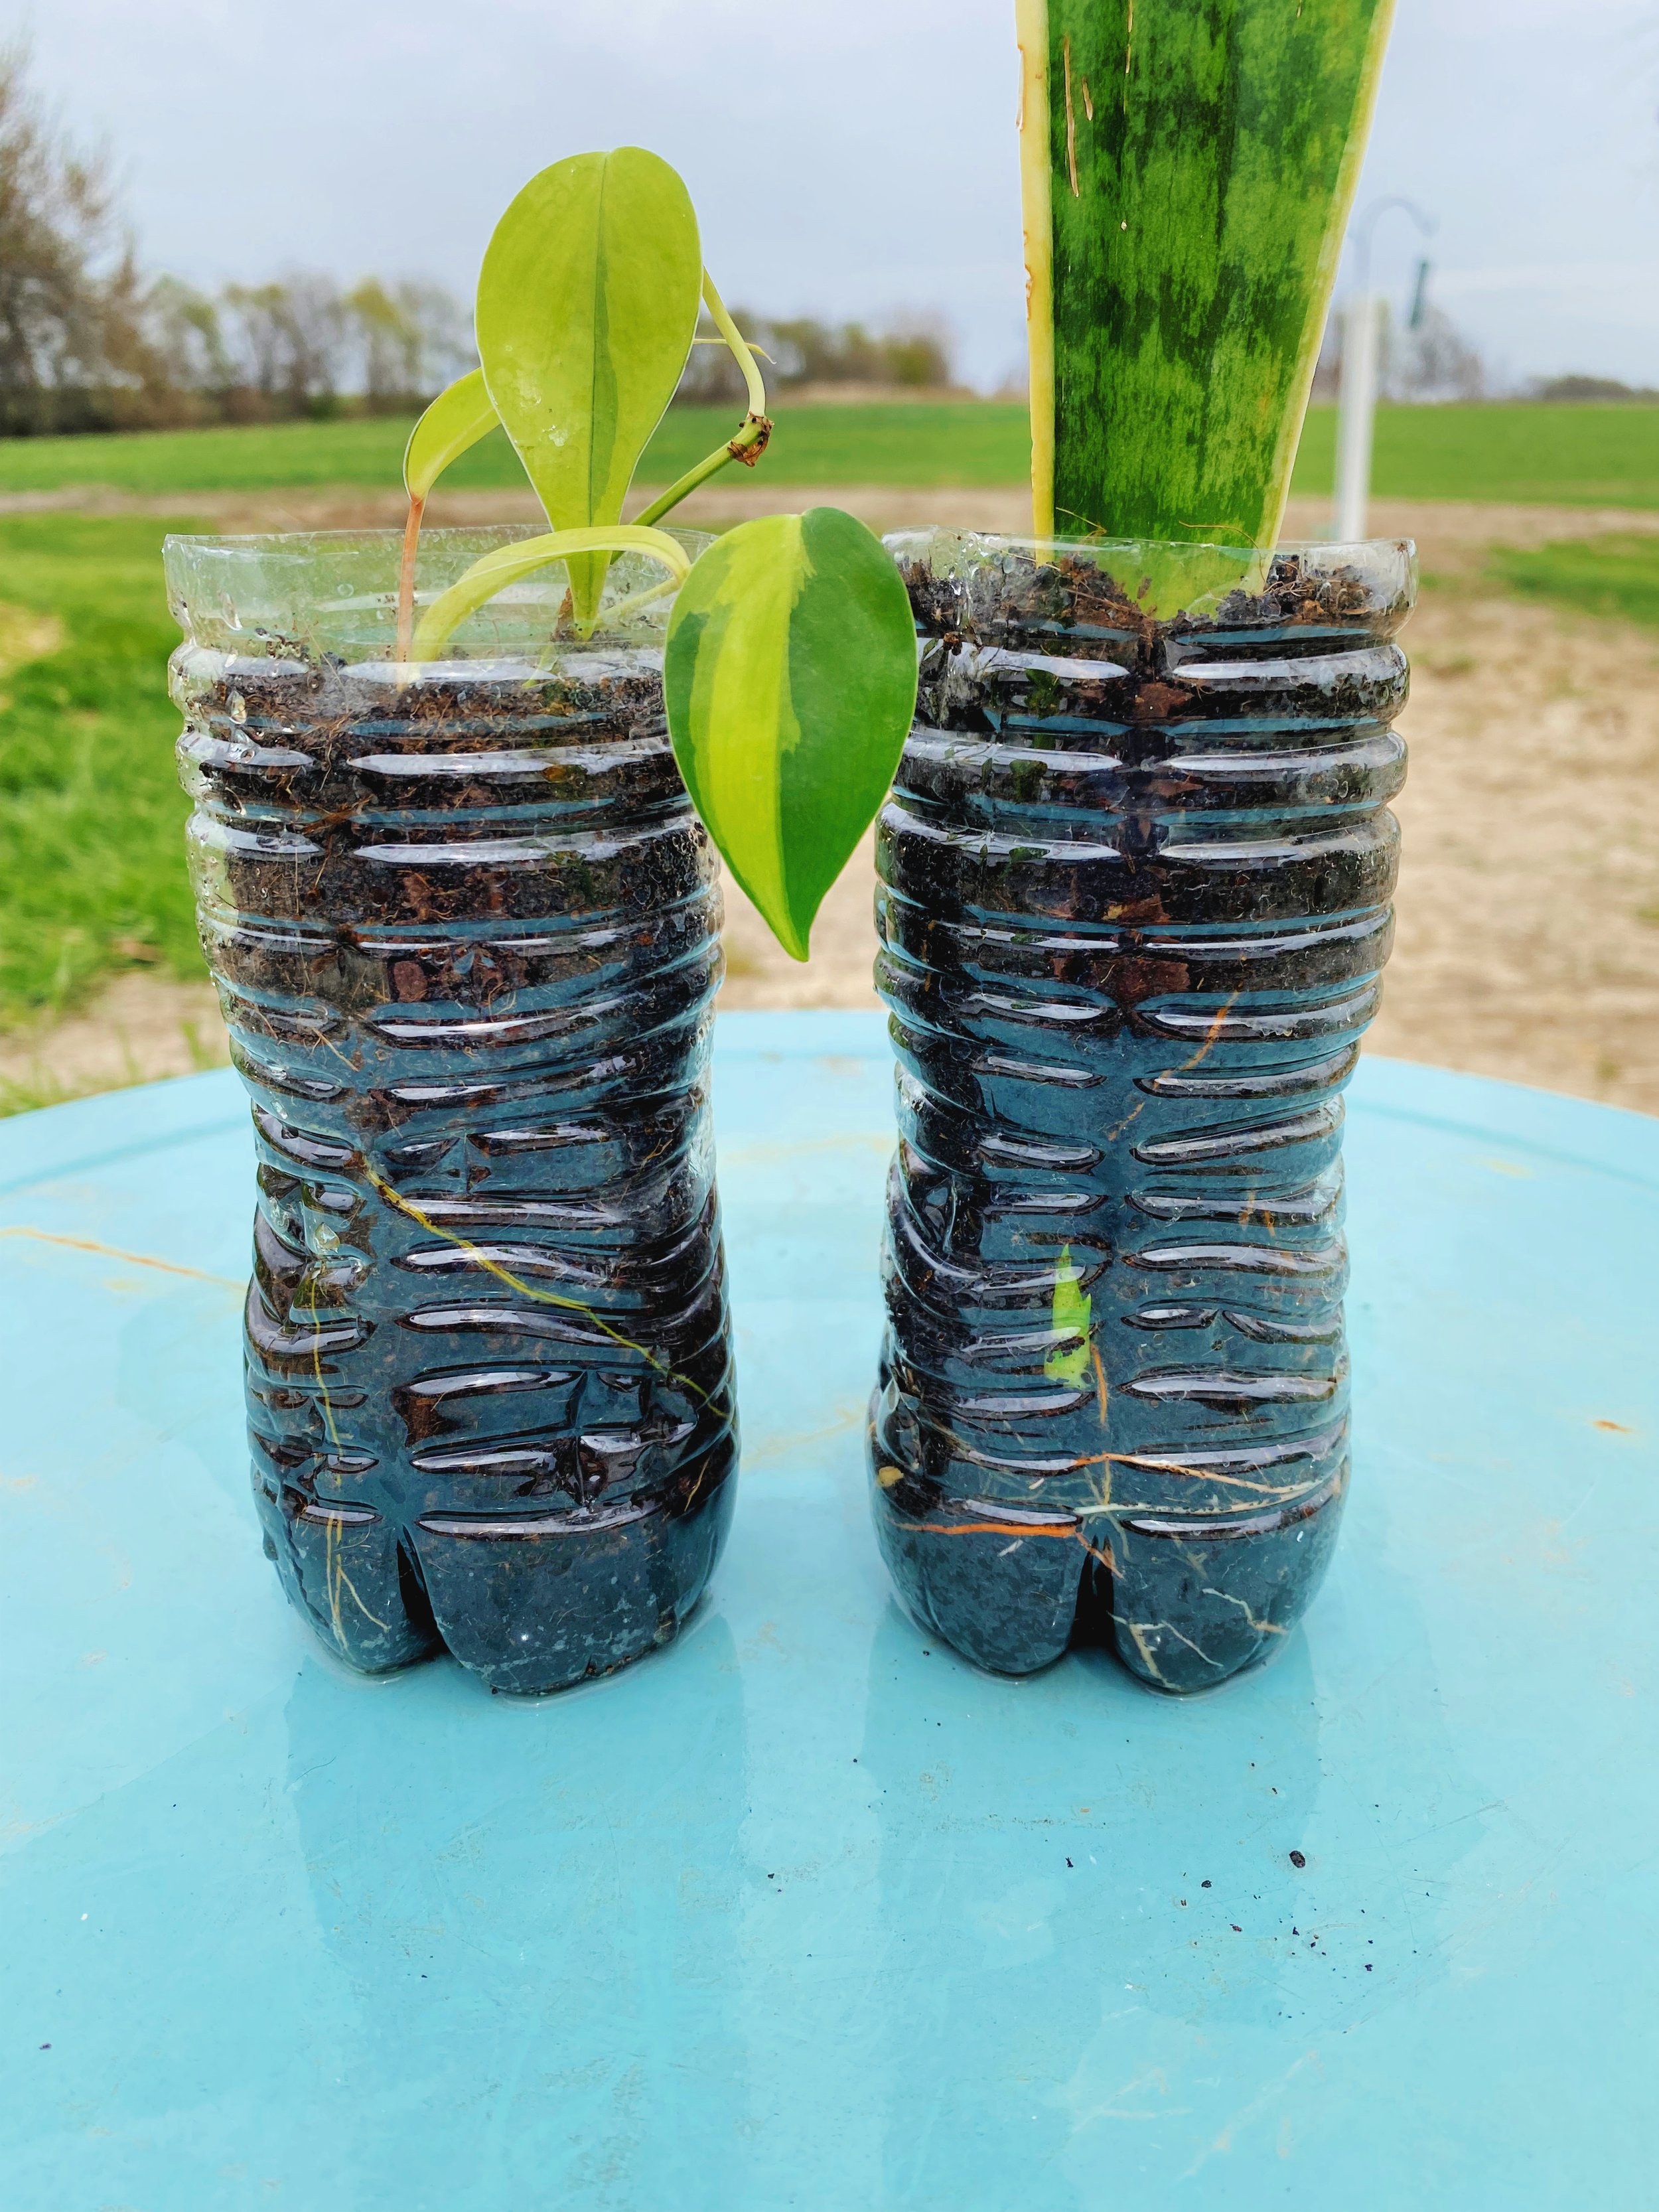
DIY: Plastic Bottle Propagation Station
DIY plastic bottle propagation station
Looking for a sustainable and budget-friendly way to grow new plants? This DIY Plastic Bottle Propagation Station is the perfect project for plant lovers who want to reuse everyday materials while encouraging healthy root growth. Whether you’re propagating pothos, philodendron, or herbs, this simple setup uses recycled plastic bottles to create a functional and stylish propagation station. In just a few easy steps, you’ll turn trash into treasure—and give your plant cuttings the best start possible.
Materials Needed:
Plastic bottles (like soda bottles or water bottles), empty and clean
Scissors or utility knife
Potting soil or a rooting medium
Rubber bands or tape (optional)
Steps:
Prepare the Bottles: Cut the plastic bottle in half. The bottom half will serve as the container for the rooting medium, while the top half can be used as a dome or cover for creating a mini greenhouse effect.
Create Holes: Make small drainage holes in the bottom of the bottle for excess water to escape.
Add Medium: Fill the bottom half of the bottle with potting soil or a suitable rooting medium.
Insert Cuttings: Insert your plant cuttings into the soil, ensuring they are well-positioned and stable.
Cover (Optional): Place the top half of the bottle over the bottom half to create a dome. This helps maintain humidity and creates a greenhouse-like environment.


